CraftyAllie CraftyAllie My pinterest made by Leelou
Showing posts with label crafts. Show all posts

Sunday, February 17, 2013

DIY Hearts and lace shirt

Nursing school has been kicking my bee-hind. Needless to say, that's why I haven't updated anything at all. However, I did find some time to make an ADORABLE shirt the week before Valentine's day. I got my inspiration from a sweater at ThreeBirdNest.

Isn't that just adorable?!  I couldn't justify paying $48 for a shirt I could easily make myself though (and they are out of stock right now).

Here is my rendition of it!And the best part? No sewing machine necessary! The hand-stitching is really easy. It took about 2 hours for me to make, but this was my first ever sewing-related project. All of you experienced crafters could probably knock this out in 30 minutes to an hour, especially if you have a sewing machine!


First, you'll need a shirt. Any shirt will do, as long as it has a nice big back! I wouldn't go out and buy a nice shirt, because it's going to get cut up, and you might mess up! Try using a big oversized sweatshirt or t-shirt. I used a cropped shirt that I ended up cutting even shorter. It all depends on what you're going for.

 Please excuse the messiness of my school books and such :)

So, here's what you'll need:
  • A shirt-Don't spend more than $2 on a shirt! And if you have one already at home, it's free!
  • 1-2 yards of fabric (Depending on how confident you are). I used a regular polyester fabric because I couldn't find lace fabric in a timely manner. I also was trying to decide whether or not to use tulle, and I decided not. I also used scrap fabric that was given to me, so it didn't cost me anything, but 1-2 yds of fabric at Walmart or HobLob is approximately $10 (That's probably an overestimate, too).
  • A spool of lace trim-$5 or less at Walmart
  • Matching thread-$3
  • Scissors
  • Fabric chalk/marker/etc. I didn't have one so I just used a sharpie with a piece of cardboard underneath the shirt so it wouldn't bleed through
  • Iron and ironing board
  • Good lighting
  • Sewing machine (if you have one. I hand-sewed mine)

Next, you'll want to iron everything, just to get it nice and straight before make any cutting commitments!
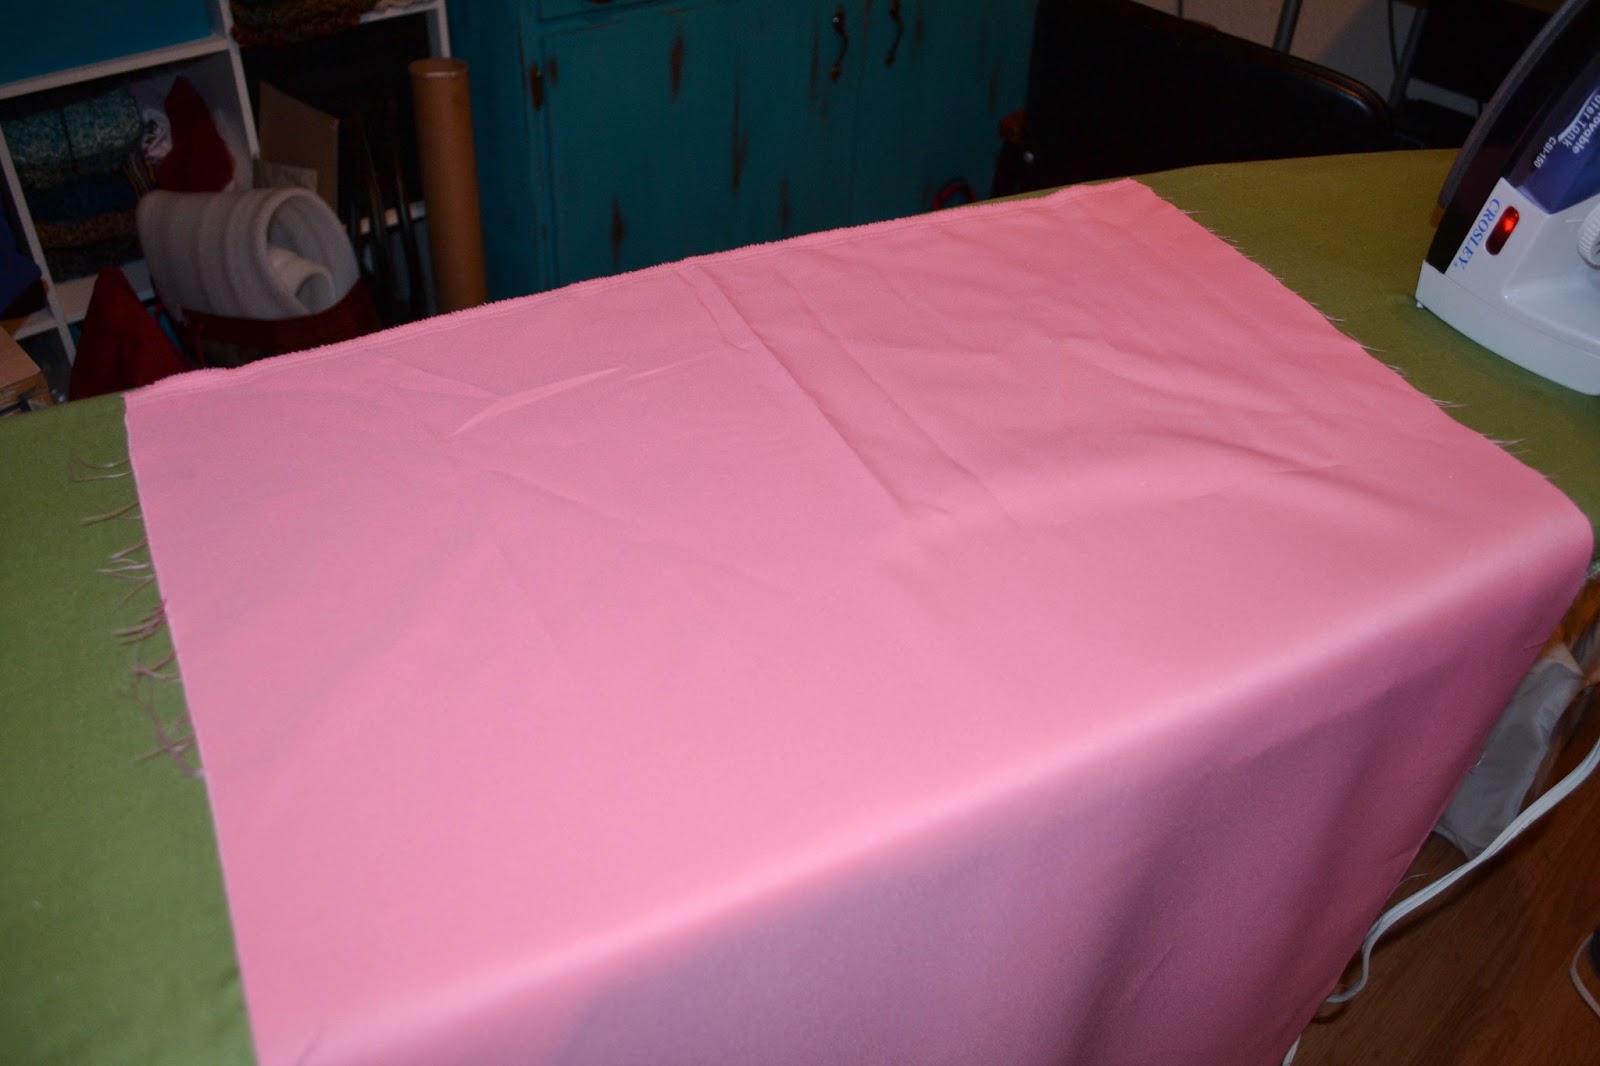
Now comes a kind of scary part for me---cutting!

 Don't be afraid of the scissors. They are your friend! If you have a shirt similar to mine, then be sure to cut ABOVE the seam so that you don't have any bunching fabric at the bottom.
 This is what it looked like when I was finished chopping off the bottom. So far so good, right?

Now comes the really REALLY scary part: cutting out the heart.
 I don't know if you can see my little sharpie dots there, but that's how I made the heart. I kind of free-handed it. If you love perfection, this method isn't for you. Print out a nice big heart on some BIG paper and trace it on. No one will judge you!

Next, cut your fabric to a square just bigger than the perimeter of your heart. I left about 1-2 inches at each pointy end of the heart. Turn your shirt inside-out and, place some cardboard or a hard piece of plastic in your shirt (trust me, it makes it a lot easier to pin) and pin the fabric to the shirt about a half inch to an inch away from the heart border. I probably could have done this step a little better, but I still got the end product I wanted!

After you pin your fabric, flip the shirt back to the right side. This is where I could have done this better. You could probably have left it right side out and pinned the fabric to the inside, but that just wasn't making sense to me at the time. 

Now the fun part--sewing! If you have a sewing machine, take it out now and get it all nice and set up. Proceed to sew the heart on. If you are a hand-sewer and have NO idea how to sew (like me), take a look at this video to help you out! It shows a straight stitch, and that's the only stitch I used for this whole project. This is very much a beginner sewing project.
 Do this stitch all the way around, and make sure to keep your stitches close together.

So, once you finish sewing the heart on, trim the inside edges about 1 inch away from where you sewn line is. It will end up looking something like this:

I could have stopped right here, but adding a lace trim just seemed way more fun :)


See the little lace windows at the top of the ribbon? That's where I did my straight stitch. The needle would go in one window, and come out int he window next to it. It made for a very flat finish. 

Give it all another good ironing and you're finished!


Happy {late} valentine's day!


Stay crafty my friends,
-a


Sunday, January 6, 2013

Final Fantasy blanket, final product

I just realized that I never posted a finished picture of my final fantasy blanket! I posted them on my facebook page, but not here! 


 Final specs: 7x10 feet, 21 rows, with 30 squares in each row (630 squares). Final weight: 8 pounds. Duration: almost one year. Below, you can also see my mario mushroom blanket I made about 2 years ago :)

I will also be making a pattern for my South Park people as soon as I can, and it will be up for purchase on my Etsy store very soon! I will provide a free pattern for Stan on my next blog post, so stay tuned! 

Stay crafty my friends,

-a

Sunday, September 30, 2012

Guess the project WINNER!


Well, last week one of my wonderful customers correctly guessed the character that is featured on the blanket I am making!

The answer is: Final Fantasy 1 Warrior!

Do you know what she gets now? A FREE BEARD BEANIE! 

I'm so happy that someone finally guessed it. I was starting to worry that no one would!

Congratulations Tabby!

Stay crafty my friends

Tuesday, June 26, 2012

What I've been doing all day every day..

My boyfriend has summer school, along with my other roommate and several of my friends. Whoever isn't in summer school has a summer research job, which leaves me all by myself Monday through Friday from 8-5. So I've had to occupy my time with knitting, crocheting, and general crafting. Oh the horror! So here are some of my recent projects. You can see way more pictures on my facebook page. Enjoy :)


 Green market bag I made for Jan at JanMadeIt


 Baby blanket I made for this beautiful little guy! It was my first shot at designing a baby blanket. How'd I do?


This beautiful young lady, Lorelei Decker is VERY special. She is a recent highschool graduate of my old highschool, Putnam City North. She is battling Hodgkin's Lymphoma, but if you get the pleasure of meeting her you could never tell! Her adament happiness and optimism during such a hard period of her life is such a treasure to witness. Here is the link to her CaringBridge page if you would like to keep track of her and keep her in your thoughts! The picture above is her in a prayer shawl I knitted for her. Blue for the thunder, of course :)


 James Harden beard I made for one of my friends. The original intent was for him to wear it to game 6 of the NBA finals...but obviously that did not pan out. Oh well! better luck next year i suppose. THUNDER UP!


My friend (pictured) had a birthday last week, and I wanted to make him something really cool! Turns out that this is my favorite hat pattern now!


Hello Kitty :)


One of my general craft projects. I was going to buy some lace trim, then I was going to make some lace trim, but I ended up just crocheting a border around the edge. I like them :)


HOBBES! One of my favorite creations. :)

If you like anything you see, please visit my facebook page and "like" it. I would appreciate it very much! I also do custom orders if you want a different colored market bag, hat, or anything you can think of!

Stay crafty my friends.

Sunday, December 25, 2011

Happy Holidays!

Here is a taste of holiday goodness. :)

 My improv wrapping paper and ribbon. :)
 Left to right: momma wearing a circular scarf inspired by peoplewebs, bubba wearing a beanie in his school colors, other bubba in an Eric Cartman hat, and OTHER bubba wearing a ski mask. They all liked their gifts :)
 AWESOME tutorials I found on pinterest. They turned out super cute. These are for Fletchers Dad&stepmom, and Mom&stepdad. :)

 I saw a picture on pinterest that showed cardboard letters being wrapped in yarn. The rest is all me! It was completely recycled (except I guess the yarn). I got the sticks from my backyard, and for the hangings on the back I used tabs from soda cans! And then I secured it all together with hot glue...lots and lots of hot glue..


Happy Holidays and Merry Christmas from CraftyAllie! Hoooooowdy-Ho!