Nursing school has been kicking my bee-hind. Needless to say, that's why I haven't updated anything at all. However, I did find some time to make an ADORABLE shirt the week before Valentine's day. I got my inspiration from a sweater at
ThreeBirdNest.
Isn't that just adorable?! I couldn't justify paying $48 for a shirt I could easily make myself though (and they are out of stock right now).
Here is my rendition of it!And the best part? No sewing machine necessary! The hand-stitching is really easy. It took about 2 hours for me to make, but this was my first ever sewing-related project. All of you experienced crafters could probably knock this out in 30 minutes to an hour, especially if you have a sewing machine!
First, you'll need a shirt. Any shirt will do, as long as it has a nice big back! I wouldn't go out and buy a nice shirt, because it's going to get cut up, and you might mess up! Try using a big oversized sweatshirt or t-shirt. I used a cropped shirt that I ended up cutting even shorter. It all depends on what you're going for.
Please excuse the messiness of my school books and such :)
So, here's what you'll need:
- A shirt-Don't spend more than $2 on a shirt! And if you have one already at home, it's free!
- 1-2 yards of fabric (Depending on how confident you are). I used a regular polyester fabric because I couldn't find lace fabric in a timely manner. I also was trying to decide whether or not to use tulle, and I decided not. I also used scrap fabric that was given to me, so it didn't cost me anything, but 1-2 yds of fabric at Walmart or HobLob is approximately $10 (That's probably an overestimate, too).
- A spool of lace trim-$5 or less at Walmart
- Matching thread-$3
- Scissors
- Fabric chalk/marker/etc. I didn't have one so I just used a sharpie with a piece of cardboard underneath the shirt so it wouldn't bleed through
- Iron and ironing board
- Good lighting
- Sewing machine (if you have one. I hand-sewed mine)
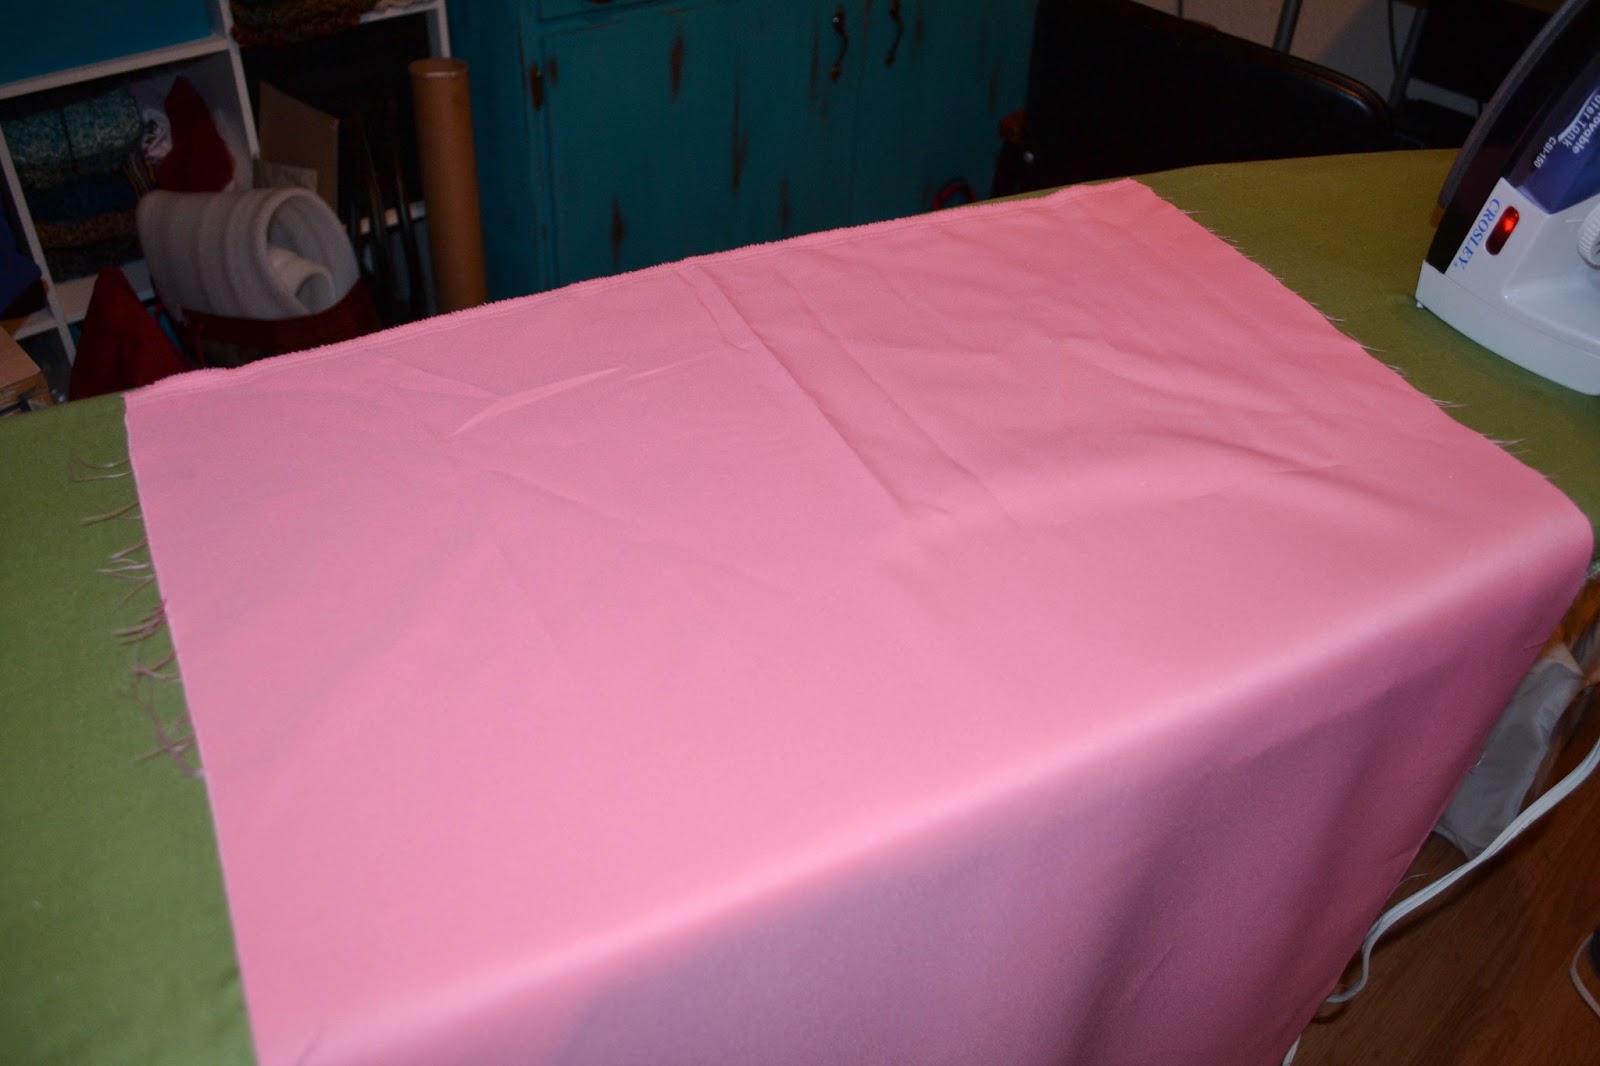
Next, you'll want to iron everything, just to get it nice and straight before make any cutting commitments!
Now comes a kind of scary part for me---cutting!
Don't be afraid of the scissors. They are your friend! If you have a shirt similar to mine, then be sure to cut ABOVE the seam so that you don't have any bunching fabric at the bottom.
This is what it looked like when I was finished chopping off the bottom. So far so good, right?
Now comes the really REALLY scary part: cutting out the heart.
I don't know if you can see my little sharpie dots there, but that's how I made the heart. I kind of free-handed it. If you love perfection, this method isn't for you. Print out a nice big heart on some BIG paper and trace it on. No one will judge you!
Next, cut your fabric to a square just bigger than the perimeter of your heart. I left about 1-2 inches at each pointy end of the heart. Turn your shirt inside-out and, place some cardboard or a hard piece of plastic in your shirt (trust me, it makes it a lot easier to pin) and pin the fabric to the shirt about a half inch to an inch away from the heart border. I probably could have done this step a little better, but I still got the end product I wanted!
After you pin your fabric, flip the shirt back to the right side. This is where I could have done this better. You could probably have left it right side out and pinned the fabric to the inside, but that just wasn't making sense to me at the time.
Now the fun part--sewing! If you have a sewing machine, take it out now and get it all nice and set up. Proceed to sew the heart on. If you are a hand-sewer and have NO idea how to sew (like me), take a look at
this video to help you out! It shows a straight stitch, and that's the only stitch I used for this whole project. This is very much a beginner sewing project.
Do this stitch all the way around, and make sure to keep your stitches close together.
So, once you finish sewing the heart on, trim the inside edges about 1 inch away from where you sewn line is. It will end up looking something like this:
I could have stopped right here, but adding a lace trim just seemed way more fun :)
See the little lace windows at the top of the ribbon? That's where I did my straight stitch. The needle would go in one window, and come out int he window next to it. It made for a very flat finish.
Give it all another good ironing and you're finished!
Happy {late} valentine's day!
Stay crafty my friends,
-a


.JPG)

